Step 1: Select Recipe
- Sign in to the Dispersed Console
- Go to Run in the sidebar
- In the Recipe section, select a Job Recipe or customize your own job recipe
- In the GPU section, choose Any compatible GPU
In the configuration modal, provide the required inputs:
| Input | Description | Example |
|---|
| SSH Public Key | Your SSH public key | ssh-ed25519 AAAA... user@host |
| Allowed IPs | IP addresses allowed to connect | 0.0.0.0/0 (any) |
Step 3: Submit
Click Submit Job. You’ll be redirected to the Job Detail page.
Step 4: Wait for Node Assignment
After submitting, your Job goes through these stages:
| Status | Description |
|---|
| PENDING | The network is searching for a Node with your specs |
| ASSIGNED | A Node has been selected and is preparing your container |
| RUNNING | Your container is running and ready for connections |
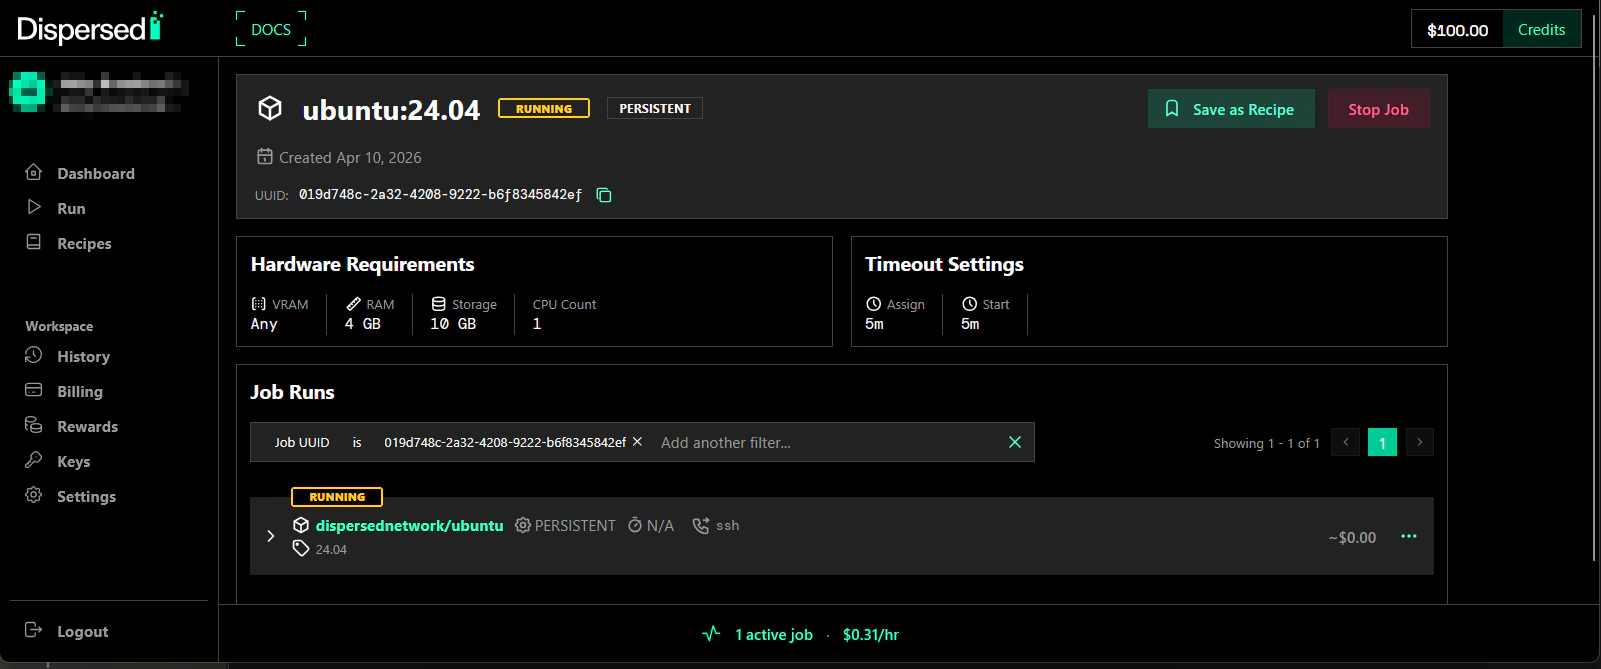
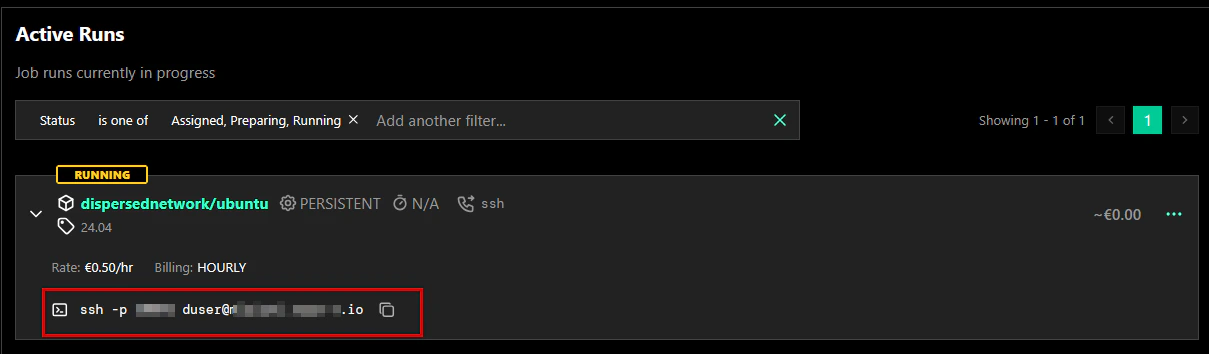
Step 5: Get Connection
When your Job shows RUNNING:
- On the Job Detail page, find the Job Runs section
- Click on the Job Run to open the Job Run Detail page
- The connection information appears under Node URLs
You’ll see the hostname and port needed for SSH access.
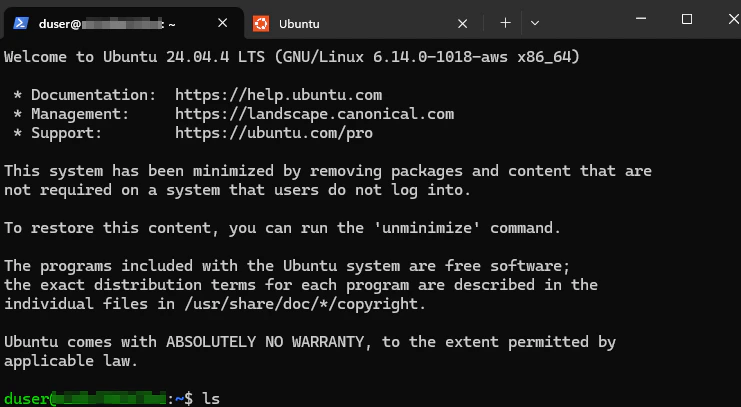
Step 6: Connect
Use the connection info from the Job Run Detail page:
ssh -i ~/.ssh/dispersed -p <port> duser@<hostname>
The Job Run page updates automatically as status changes. Refresh if needed to see the latest connection information.