- Windows: AppData\Roaming\Otoy\config
- * Linux: ~/.Otoy/config
- * MacOS: ~/.Otoy/config
Note: Starting from v1.8.1 the config location was updated. The folder name was changed from
~/.otoy to ~/.Otoy on Linux and macOS, and the config file (dotfile) was renamed from zernet to config.- Linux
- Windows
1. Download disNet
DownloaddisNet from the Dispersed Console or contact support for access.
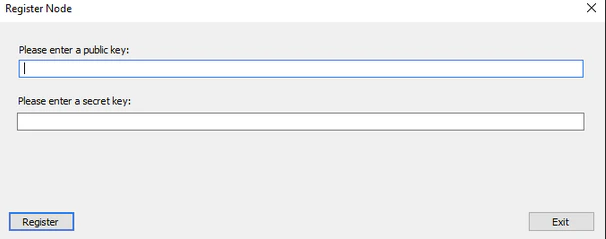
2. Run Registration
Navigate to the directory with thedisNet client binary and register using your API Key:2.1 Find and navigate to the disNet client binary:3. Start the disNet client
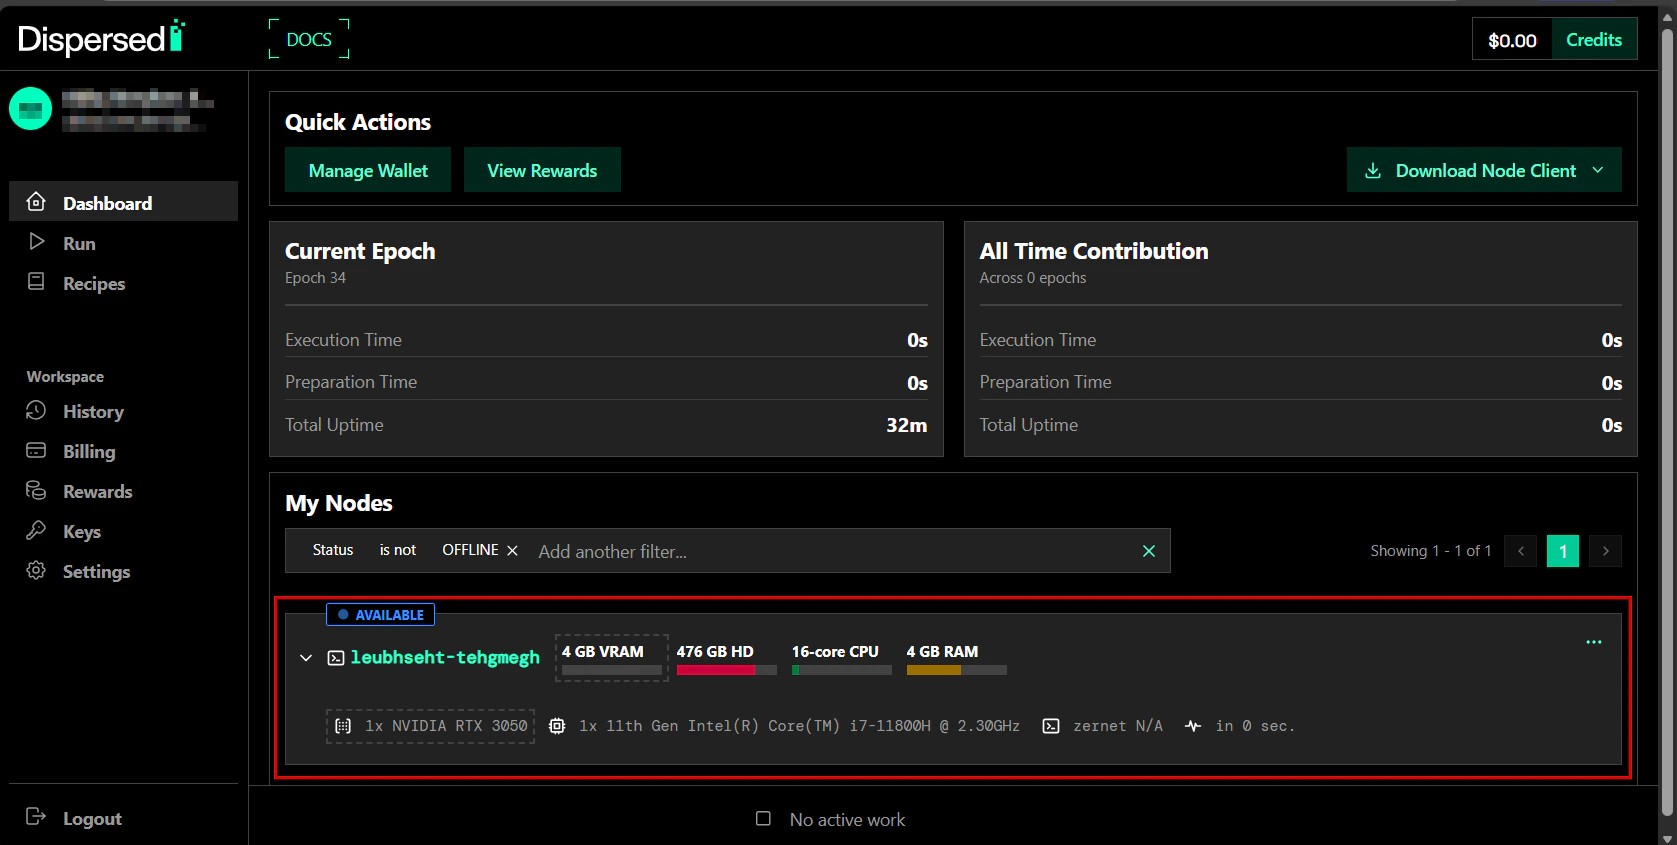
After registration, start the client normally:You only need the
--register flag on first run. After that, just use --pubkey and --secretkey.
Troubleshooting
| Issue | Solution |
|---|---|
nvidia-smi not found | Install NVIDIA drivers |
| Docker permission denied | Run with sudo or add user to docker group |
| Container can’t access GPU | Verify nvidia-container-toolkit installation |
| Node not appearing in Console | Check network connectivity and API key validity |